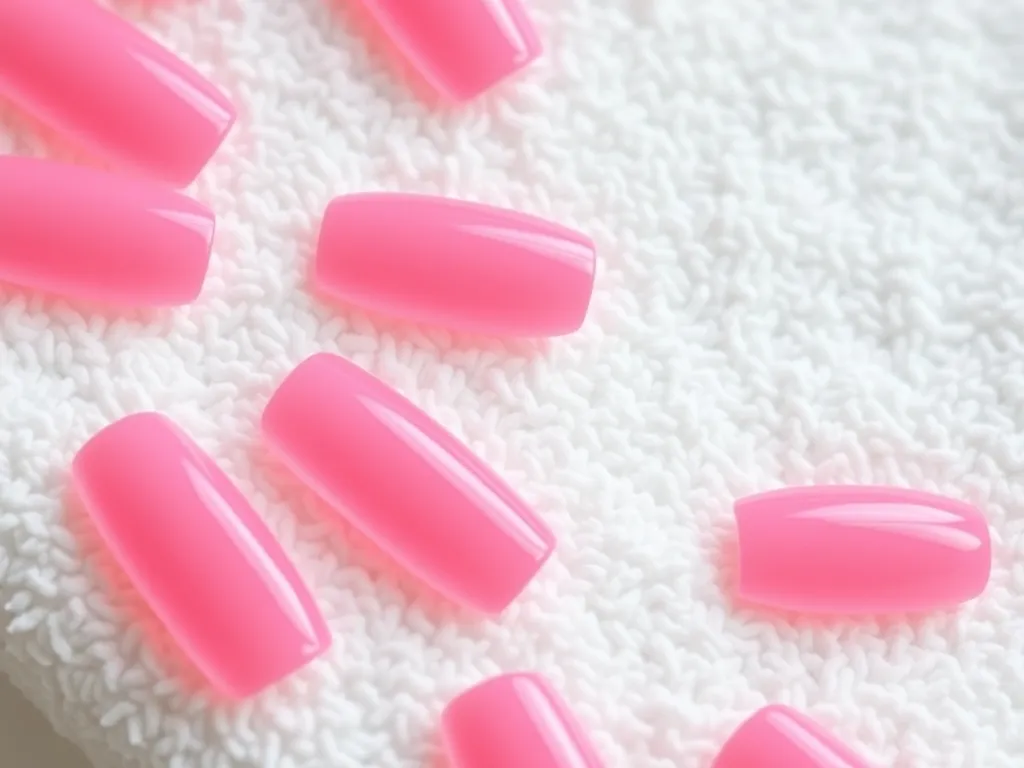
Regular polish, in brief
The technician brushes on a base coat first, followed by two thin coats of color, then a clear top layer.
Air alone dries the layers, so timing between coats matters for a smooth finish. Many people choose regular polish because it comes in a wide range of colors and finishes.
The color sits on top of the natural nail rather than bonding to it, so it can chip if it takes a hit early. Because the finish is a lacquer, additional coats of color can be layered over each other to build custom shades. Some people prefer a matte top coat instead of a glossy one for a different look. Regular polish also allows a quick change of color without waiting on any curing step.
Removal of regular polish is straightforward, since a cotton pad soaked in remover lifts the color within a few passes. No soaking or filing is required beforehand, which makes it a simple option to take off at home. Because there's no bonding agent, the natural nail underneath is left as it was before the polish went on. This simplicity is one reason some clients start with a regular manicure before trying gel or dip.
Gel polish, in brief
Gel polish looks similar to regular lacquer but hardens under a UV or LED lamp instead of drying in the air. The technician applies a base coat, then color, curing each layer under the lamp before adding the next. This process gives the color a glass-like shine that sits close to the nail once cured. The lamp step is what separates gel from a standard bottle-and-brush manicure.
Because each layer cures before the next goes on, the color can look even from edge to edge.
A gel manicure is applied nail by nail, so the process takes longer than a quick polish change. Colors and finishes vary by brand, and some studios offer chrome or matte gel top coats. The cured finish resists smudging right away, since there is no air-drying window to protect.
Dip powder, in brief
Dip powder starts with a base coat brushed on, then the nail is dipped directly into a jar of colored powder. The technician repeats the dip for a few coats, brushing off excess powder between layers, then seals the color with an activator and top coat.
Unlike gel, dip powder does not need a UV lamp to set, since the activator does the hardening. The result is a solid, uniform color that reaches from the cuticle to the tip.
Because the powder builds layer by layer, dip can add a bit of thickness to the nail that gel or regular polish does not. Color choices for dip are usually more limited than the shelves of regular polish bottles. Some studios keep a dedicated dip station to avoid cross-contamination between jars and clients. The finish has a matte look before the top coat, then turns glossy once sealed.
Choosing between them
The right choice often comes down to how much time is available for the appointment and what look is wanted. Regular polish suits a quick color swap or a first visit to try out a shade. Gel appeals to anyone who wants a glassy finish achieved through the lamp-curing process. Dip powder works for anyone who likes a solid, opaque color from base to tip. Skin sensitivity is another factor, since acetone soaking is part of removing both gel and dip. Anyone with sensitive cuticles can ask the technician about softer removal methods or extra moisturizer during the process. Nail texture also plays a role, since someone with thinner nails can find the added layer of dip powder gives more surface to work with.
Occasion also shapes the decision, since a special event can call for the smooth, glass-like finish gel provides.
A day-to-day color change can suit regular polish better, given how easily it goes on and comes off. Nail art also factors in, since gel and dip both provide a stable surface for painted or applied designs. Talking through preferences with the technician before the appointment helps match the method to the goal.
Booking a manicure
Thinking through the questions above before an appointment makes the conversation with the technician quicker and clearer.
Bringing a reference photo or naming a favorite past manicure gives the technician a starting point for color and finish. Asking about lamp curing time or acetone soaking ahead of the appointment can clear up questions about the process. A short conversation at the start of the visit usually settles which option fits the day.
Salons often keep color charts or sample tips so a shade can be tested against the skin before application. Comparing a few options in natural light helps settle on a final choice. Arriving with clean, polish-free nails is not required, since removal is part of the appointment. Comfortable seating and a clear view of the color chart make the decision easier once at the salon.
Call (360) 555-0132 or send the form to set up an appointment and ask which finish works for the day.
Lacquerly Nail Studio
Call (360) 555-0132 or send a message to arrange a visit at Lacquerly Nail Studio.